
Painting Window Trim: My Ultimate How-To Guide
Welcome! Painting window trim can seem like a daunting task, but I'm here to simplify the process. Whether I'm refreshing my home's look or preparing for a sale, understanding the best practices for painting window trim is essential. In this guide, I’ll walk you through everything you need to know for a successful project.
Choosing the Right Paint for My Window Trim
Selecting the right paint is crucial for achieving a quality finish on my window trim.
Types of Paint
When I consider paint, I think about two main types: latex and oil-based.
- Latex Paint: Fast-drying, easy to clean, and less odor. Ideal for interior trim.
- Oil-Based Paint: Offers a smoother finish and better durability but takes longer to dry.
Sheen Options
I also need to choose the sheen level to add depth:
- Satin: Subtle sheen, good for trim.
- Semi-Gloss: Reflective, easy to clean—great for windows.
Preparation: What I Need Before I Start Painting
Proper prep work can make the painting process smoother and more successful.
Necessary Tools
Here’s what I gather:
- High-quality brushes for precision
- Painter's tape for clean lines
- Sandpaper to smooth surfaces
- Drop cloths to protect my floors
Surface Prep Steps
- Clean the Trim: Remove dust and grease.
- Fill Holes and Cracks: Use caulk or wood filler.
- Sand the Surface: Ensure a smooth application.
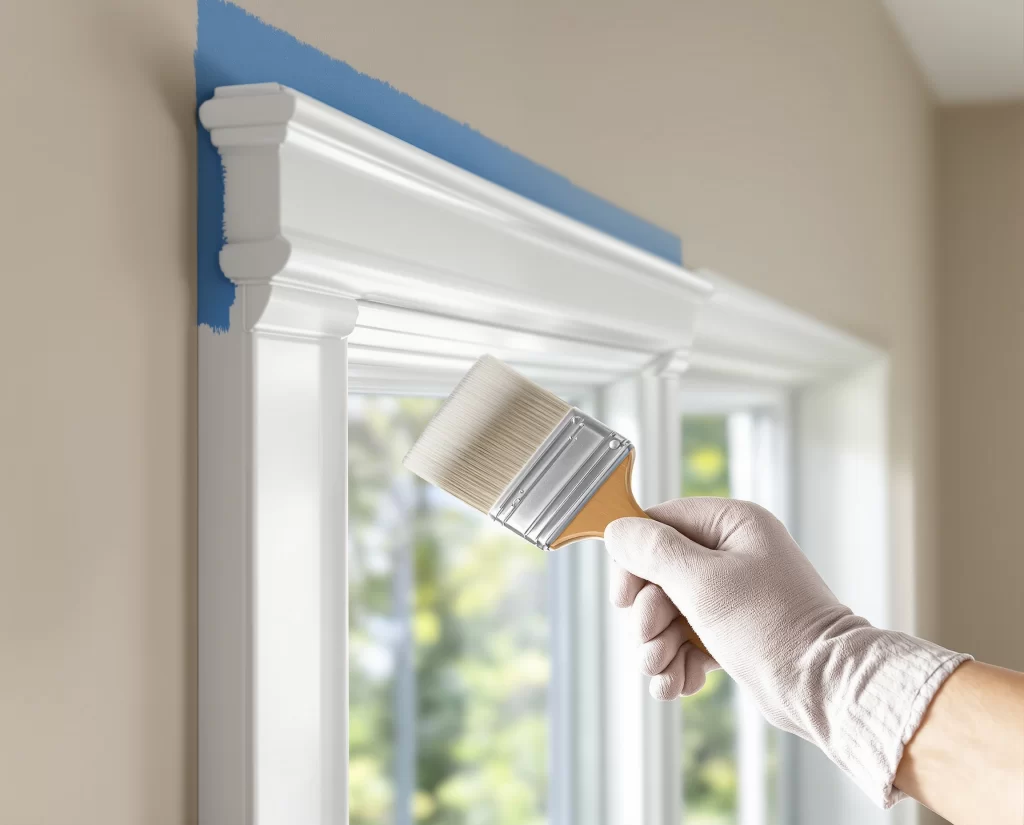
How to Properly Tape My Windows
Using painter’s tape is fundamental for achieving clean lines.
Taping Techniques
I ensure a proper seal when applying tape:
- Avoid Wrinkles: Smooth out any bumps.
- Press Down Firmly: Secure edges to prevent paint bleed.
Removing the Tape
Once my paint is dry, I carefully peel the tape off at a 45-degree angle for clean edges.
Painting Techniques for a Flawless Finish
Now it’s time to dive into the actual painting process.
Brushes vs. Rollers
For window trim, I prefer using brushes for control and precision:
- Angle Brushes: Perfect for corners and edges.
- Mini Rollers: Useful for larger flat areas, but I adjust according to the trim's detail.
Application Process
- Start with Primer: Especially if I’m covering old paint.
- Apply Paint in Thin Coats: One or two coats for optimal coverage.
Drying and Curing Times for My Paint
Understanding drying times helps me avoid smudges.
General Timeline
Typically, paint feels dry within an hour, but full curing can take:
- Latex Paint: 2 weeks for full hardness.
- Oil-Based Paint: Up to 30 days.
Cleaning Up After Painting My Window Trim
Once I finish painting, it's crucial to clean my workspace properly.
Tool Care
I clean my brushes immediately to prolong their life:
- Use soap and water for latex paint.
- Use mineral spirits for oil-based paint.
Disposal of Materials
I always check local regulations for disposing of paint and solvents properly.
Maintaining My Newly Painted Window Trim
To ensure longevity, I adopt a maintenance routine.
Cleaning Tips
I regularly dust and gently clean with a damp cloth:
- Avoid harsh chemicals to prevent damage.
- Spot clean any new stains immediately.
DIY vs. Professional Services: Should I Hire Help?
While I love DIY projects, sometimes, hiring a professional can be the wiser choice.
Risks of DIY
Taking on this task myself may lead to:
- Mistakes with application techniques.
- Potentially poor surface preparation.
Benefits of Hiring Professionals
I might consider professional services for:
- High-quality results with less stress.
- Time-saving and expertise in handling tricky areas.
Testimonials
"I was overwhelmed by the idea of painting my window trim, but this guide made it so easy. I couldn’t believe the results! Highly recommend!" — Lisa M., Irving, TX
"I can’t believe how much of a difference freshly painted trim made in my home. I followed this guide step-by-step and the results speak for themselves." — Mark T., Irving, TX
"Such a simple process! I saved time and achieved a beautiful finish. Well worth the effort!" — Sarah L., Irving, TX
Did You Know?
Did you know that using the right paint can extend the lifespan of your window trim by preventing rot and decay? A little prep work goes a long way!
TL;DR Summary
- Choose the right paint type and sheen for my window trim.
- Proper preparation and the right tools are vital for success.
- Painter’s tape ensures clean lines and a polished look.
- Regular maintenance preserves the fresh appearance.
- Consider professional services for the best results.
FAQs
Q1: How long should I wait between paint coats?
I typically wait at least 2 hours between coats for latex paint and up to 24 hours for oil-based paint to ensure a solid application.
Q2: Can I paint over stained wood trim?
Yes, but I recommend sanding the surface and using a primer to ensure the paint adheres properly.
Q3: What is the best way to clean my brushes after painting?
For latex paint, I wash brushes with warm, soapy water. For oil-based paint, I need to use mineral spirits or paint thinner.
Q4: How often should I repaint my window trim?
Repainting every 5-7 years is usually best, depending on the climate and exposure to the elements.
Q5: Are there any special techniques for painting intricate trim details?
For detailed trim, I use a fine-tip brush and take my time, carefully ensuring I don’t overload my brush with paint to avoid drips.