


How to Replace Vinyl Flooring the Right Way
Welcome! If you're considering replacing your vinyl flooring, you're in the right place. Many of us want a fresh look for our homes, and vinyl is a fantastic choice due to its durability and aesthetic appeal. In this guide, I will walk you through the essential steps to ensure I replace my vinyl flooring correctly and efficiently.
Understanding My Vinyl Flooring Options
When I decide to replace my vinyl flooring, I need to understand my options. Vinyl flooring comes in various forms, including sheets, tiles, and planks. Each type has distinct advantages.
Types of Vinyl Flooring
- Sheet Vinyl: Ideal for large, open spaces.
- Vinyl Tiles: Versatile and easy for DIY installations.
- Vinyl Planks: Mimics hardwood and is easy to install.
Selecting the Right Style
When I choose my vinyl flooring, I must consider the style that complements my home's decor. Popular options include wood-look, stone-look, and patterned designs.
Preparing My Space
Before I start replacing my vinyl flooring, preparation is key. I need to ensure my space is ready for the new flooring.
Clearing the Area
- Move all furniture and appliances out of the way.
- Protect any adjacent areas from potential damage.
Assessing the Subfloor
I must check the subfloor for any damage or moisture issues. An even and dry surface is crucial for proper installation.
Tools and Materials I Need
To replace my vinyl flooring like a pro, I must gather the necessary tools and materials. Here’s what I’ll need:
- Vinyl flooring of choice
- Utility knife
- Floor roller
- Trowel specially designed for vinyl
- Measuring tape and straight edge
Removing My Old Vinyl Flooring
Getting rid of my old flooring can be straightforward if I follow these steps.
Cutting the Old Vinyl
I recommend using a utility knife to cut it into manageable strips. This method makes removal easier and less physically demanding.
Pulling Up the Old Flooring
Once the pieces are cut, I can gently peel them away. If they’re stubborn, I use a scraper to remove any residue left on the subfloor.
Preparing My Subfloor
A clean and dry subfloor is essential for my new vinyl.
Cleaning the Surface
I’ll vacuum and wipe down the subfloor to remove dirt and debris.
Repairing Any Issues
If there are cracks or holes, I need to fill them. A self-leveling compound may be necessary for uneven areas.
Installing My New Vinyl Flooring
Now that my old flooring is out and the subfloor is ready, I'm ready to start laying down my new vinyl flooring.
Measuring and Cutting
I must carefully measure the room and cut the vinyl to fit the area using my utility knife.
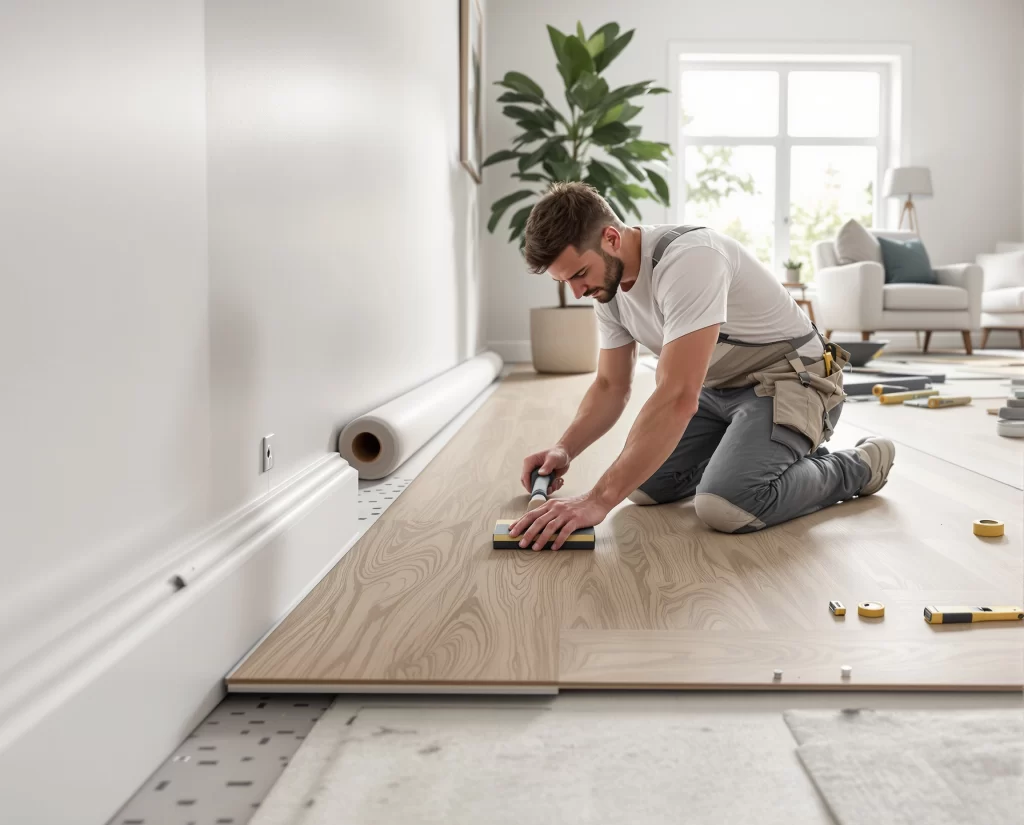
Laying Down the Vinyl
When laying the vinyl flooring, I need to start from one corner and work my way across the room. This method will eliminate trapping air pockets.
Securing the Vinyl
For sheet vinyl, I will apply adhesive as directed. For tiles and planks, pressing down firmly will typically suffice. I may use a floor roller for a secure bond.
Finishing Touches
Once the vinyl is laid down, I'm almost done!
Trimming the Edges
I need to trim any excess vinyl along the edges to ensure a neat finish.
Reinstalling Baseboards
Finally, reinstalling the baseboards will provide a polished look and cover any gaps.
DIY vs. Professional Services
I often ponder whether to tackle this project myself or hire professionals. While I might save money by DIYing, I should consider the potential risks. Professional services ensure a flawless installation, saving me time and guaranteeing quality.
Professional Benefits
- Expertise in vinyl flooring installation
- Required tools and materials at their disposal
- Warranty on workmanship
Testimonials
"I never realized how easy it could be! My new vinyl flooring looks amazing, thanks to the tips in this article." — Sarah L., Henderson, NV
"Replacing my vinyl flooring was a game-changer for my home. I appreciated the guidance!" — Mike D., Henderson, NV
"Excellent advice! I followed the steps and now my floors are stunning." — Jamie R., Henderson, NV
Did You Know?
Did you know that replacing your flooring can improve your home's energy efficiency? New vinyl flooring can act as insulation, helping to regulate temperature.
TL;DR Summary
- Choose the right type of vinyl flooring for my home.
- Properly prepare my space and subfloor before installing.
- Consider hiring professionals for installation to guarantee quality.
FAQs
1. How long should my new vinyl flooring last?
Typically, good-quality vinyl flooring can last anywhere from 10 to 20 years, depending on the usage and care.
2. Can I install vinyl flooring over existing flooring?
Yes, I can often install new vinyl over existing flooring unless there are significant imperfections. Always check the manufacturer’s guidelines first.
3. What's the best way to clean my vinyl floors?
I recommend using a damp mop and gentle cleaners specifically designed for vinyl. Avoid harsh chemicals that can damage the surface.
4. Is vinyl flooring suitable for bathrooms?
Absolutely! Vinyl flooring is moisture-resistant, making it an excellent choice for bathrooms and kitchens.
5. How can I extend the lifespan of my vinyl flooring?
Regular cleaning and avoiding harsh chemicals will help. Additionally, placing mats in high-traffic areas can minimize wear and tear.